- How to use an ER Collet
ER Collets are often a go-to for machinists because collets are readily available at varying price points and allow a tool holder to hold varying size tools. ER collets also have a greater collapsing range than SK collets. However, there are a few things that aren’t readily apparent to the beginning machinist:
- For rigidity, choke up on the tool as much as possible but never place the flutes inside of the collet.
- Tighten the collet nut, but be sure not to overtighten. Too much force will cause the collet to distort or warp, damaging the collet and reducing holding forces on the tool.
- Smaller ER sizes require less shank engagement in the collet, so if you’re trying to stick a tool out further than normal, consider an ER16 versus an ER32.
- Clean your collet! Every time a tool comes out, you should disassemble the ER collet and clean each component. Debris can be detrimental to holder life and impact performance.
- Collets are designed to collapse, not expand, so NEVER go above this range. In addition, always try to select the tightest fit collet (e.g. a 10mm tool should go in a 9-10mm collet and not a 10-11mm if possible)
- Runout is everywhere!
You probably already know that cutting tools can have runout - meaning your tool is not coaxial with your machine spindle. But did you know that it can be more than just your cutting tool? Believe it or not, your tool can be perfectly centered in the toolholder and still have an accumulated TIR. This is because runout isn’t something that can be measured at the tool alone. Your spindle, collet, toolholder, and tool can (and will!) all have some amount of measured runout. While the TIR of the tool itself has no effect on the spindle, the TIR at the spindle will carry through to the toolholder and tool. (e.g. if your spindle has .0002” runout this will remain constant. Adding a toolholder with another .0002” TIR will either cancel out your runout or increase the TIR to .0004” depending on tool orientation) Many machinists put a mark on their spindle and toolholders so that runout between the spindle and holder remains constant when the holder is placed in the same orientation each time.
- Tools deflect in the cut
Rigidity is an important factor to think about when machining - and no cutting tool material is perfectly rigid. This means that that your tool is going to deflect in the cut. Say you measure a pocket - because of deflection, you may notice the top width is larger than the bottom. Not to worry! Typically, this deflection is negligible (possibly not even measurable); and if not, there are simple steps to correct it.
- The number one cause of deflection is stickout - additional stickout length will exponentially decrease the rigidity of the tool, so always choke up on the tool as much as possible.
- Tool diameter is a contributor as well: a thicker tool with the same stickout will always deflect less, so use the largest diameter possible for the job.
- Flute count can also be a contributor to the rigidity of a tool. A two-flute tool typically has more material ground away from the shank of the tool than, say, a three flute tool - meaning less rigidity. More flutes = larger core = stiffer
- Tools that have a shorter flute length are more rigid. If you need unusually long stickout and find yourself struggling with deflection or chatter, go for a short flute length with a reduced shank tool. The short flute length gives you added rigidity (more of the tool is solid shank), while the reduced shank prevents rubbing.
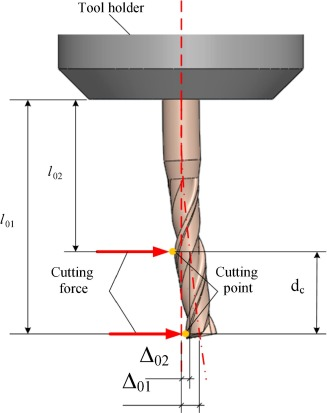
Photo courtesy of ScienceDirect.com
- Where to use Never-Seez
Never-Seez is a compound designed to prevent corrosion, rust, and seizing between two components. Use on your:
- Spindle R8 Collet - A small amount of anti-seize compound applied to the outside taper of your R8 collet goes a long way. This prevents the collet from sticking or seizing on the inner taper of the spindle and prevents premature damage and wear.
- Insert tooling - With the cutting forces applied when machining, insert screws are particularly prone to seizing and becoming stuck in the tool body. The solution is a dab of Never-Seez on the insert screw! This prevents seizing, stripped insert screws, and plenty of frustration. NOTE: if the tool or insert manufacturer provides their own anti-seize, you may need to use it.
- Threads - especially those under pressure. Insert screws are an example of this, but any time a screw or fitting is under pressure or exposed to elements that could be corrosive they run the risk of seizing. A dab of anti-seize compound will ensure threads will be just as easily removed five weeks down the road as they will be in five minutes.
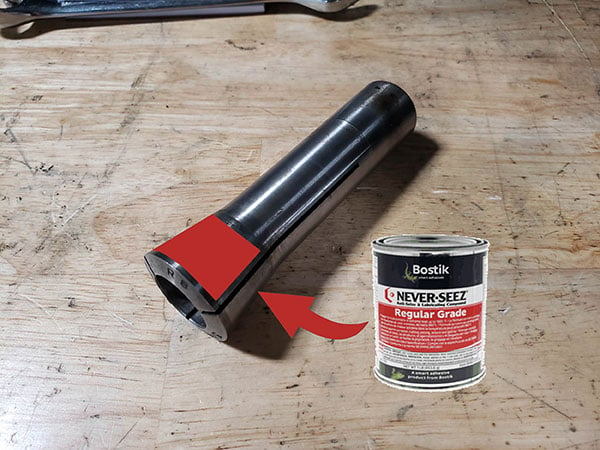
Apply Never-Seez to the tapered portion of the R8 collet, avoiding the slits and inside of the collet
- Inserts can crack
Insert tooling is great! Replacing a small insert that often has multiple usable sides as opposed to replacing an entire carbide tool is cost effective and minimizes wasted carbide. The most common mistake while using insert tooling is overtightening - carbide is a brittle material, much more so than HSS tooling. Tightening an insert screw with too much torque can immediately crack the insert or create microcracks and internal stresses that will cause the insert to fail in the cut. Another reason not to over tighten is the risk of the screw becoming seized and/or stripped (see tip number 4!)
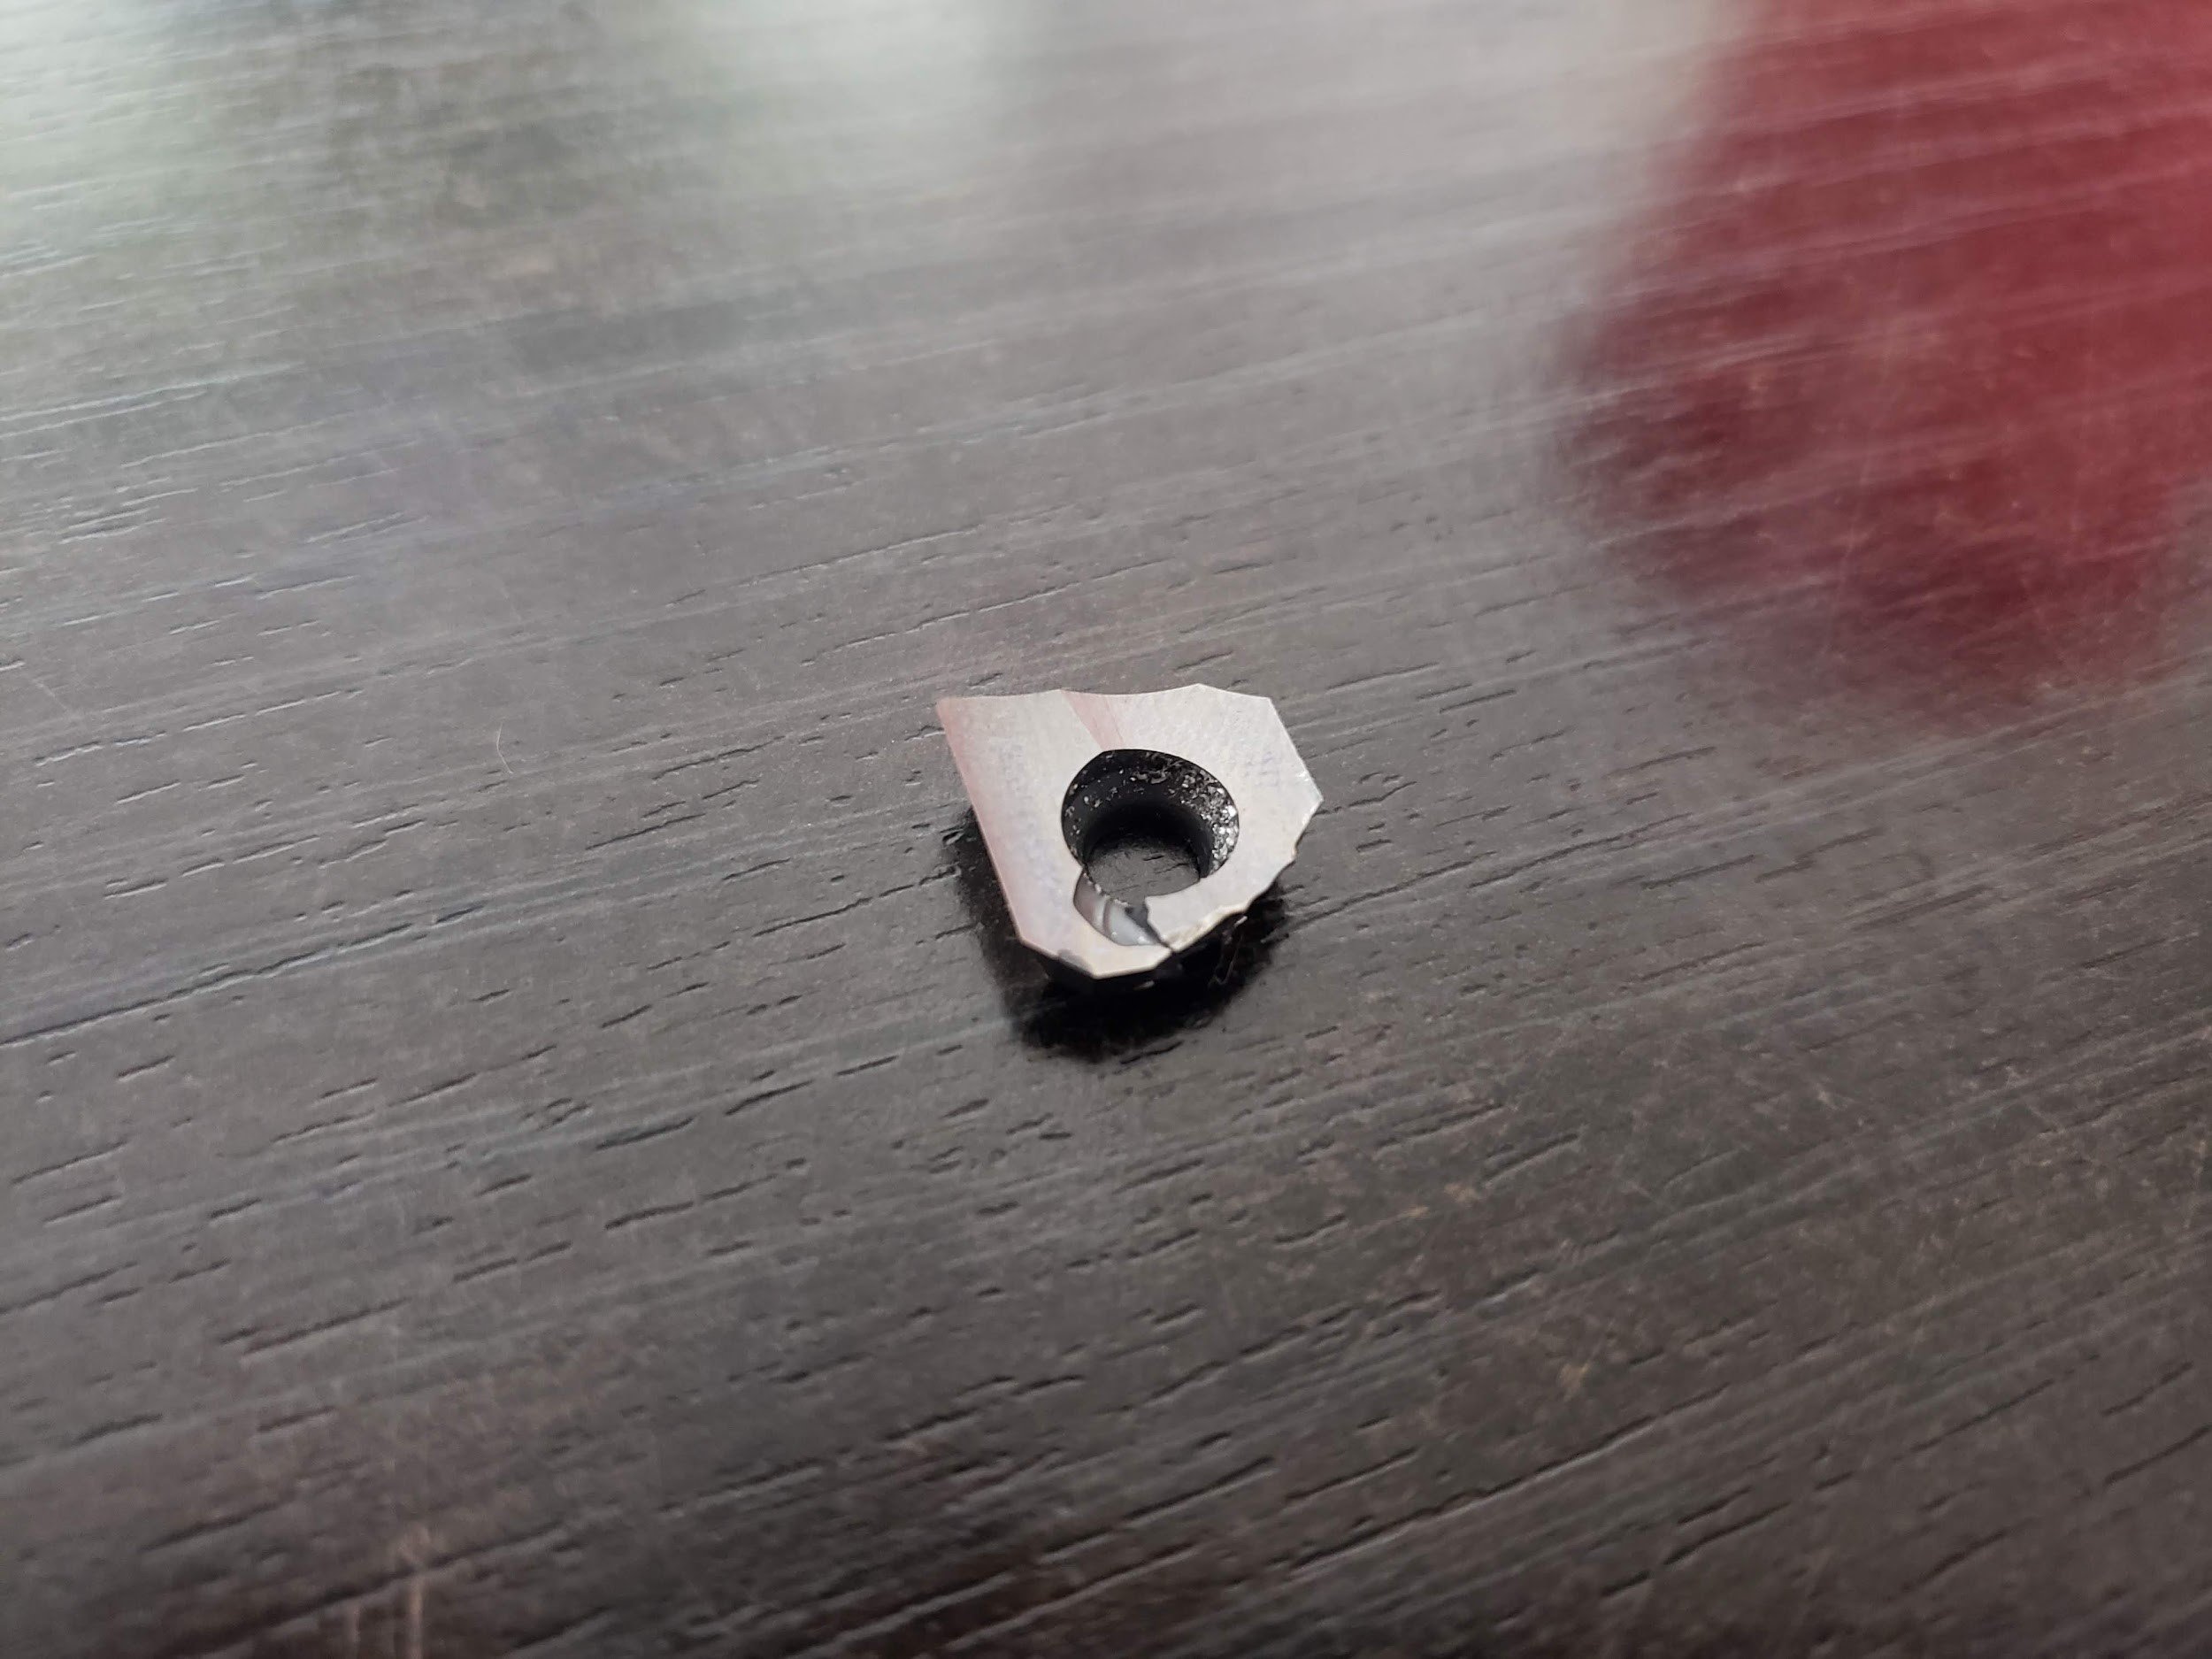
A cracked carbide insert for the Shear Hog
- Machines aren’t perfect
As much as we all wish they could be, no CNC machine is going to be perfect. One factor that affects every machine out there is temperature. To be more specific, change in temperature. Shops where the temperature fluctuates during the day may see a change in the tolerance of their parts, so it is always ideal to keep the shop at a consistent temperature as much as possible. Another problem to be aware of is tram error - when your spindle is not perfectly perpendicular with the machine table. This issue becomes more and more apparent as you go up in tool diameter and can cause surface finish imperfections and gouges with larger diameter tooling like face mills. Tram indicators are available to measure the error in your machine, which can be corrected.
The ProTram Indicator
- G30
Your machine home position is typically preset from the manufacturer, executed by the G28 command. Using G30, you can set a second reference point in your machine parameters. This is helpful if the G28 home position isn’t preferable for a particular setup and you need the machine to home at a more convenient position.
- You can do MOST machining with a few basic tools
Finding a set of tools that works for you can be tricky, but it’s important. Having a somewhat standardized set of tools is crucial because it keeps down on unneeded tool inventory and can streamline the CAM programming process. It also means you won’t need to spend your time setting up tooling, because most tools can be carried across operations and parts. Click here to download our tool libraries and see our preferred tools!
- Speeds and Feeds are Easy
Speeds and feeds are easy - and getting easier. Click here to get more information about our new Speeds and Feeds related company and sign up for beta access.
- Find your “Tool 31”
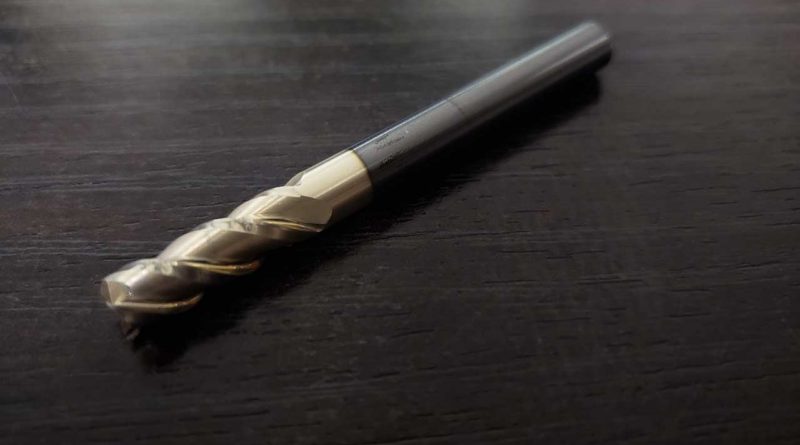
This is an addendum to point #8 - most machining needs only a few tools, but for us one of these tools is significantly more important than the others. Our T31 is a 3-flute, ¼” endmill with a .004” corner radius - but the tool number and the tool itself is completely irrelevant. We don’t expect you to adopt this tool into your inventory, and it definitely doesn’t need to be numbered 31. The takeaway here is to find your own “T31.” Find the tool that works for you and can find its way into almost every operation. For the parts we typically make, a quarter inch tool is the perfect size because it is both large enough to be a rigid roughing tool and small enough to handle most pockets and corners we machine. This endmill is relatively inexpensive and is versatile enough to be used as both a roughing and finishing endmill, while the corner radius eliminates the sharp corner prone to breaking (lengthening tool life). These things all mean that T31 is the perfect tool to use part to part, and we can stock up on one tool that we know we can count on to get the job done.

Our Tool 31
