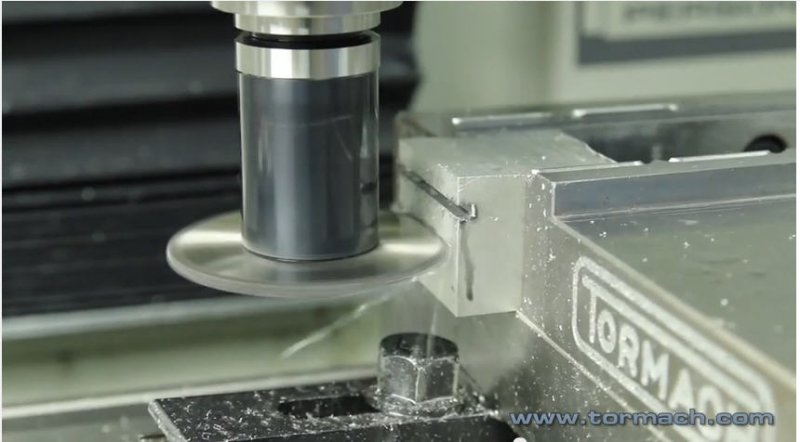
Here's part 2 of our Boring Head Basics video, OD turning
Want the tool? You can purchase our TTS Boring Head here. A few points to highlight here: A) OD Boring requires the spindle rotates counterclockwise (M4 command) in most cases, since the majority of boring bars having tooling geometry oriented for that type of cutting action (I guess you would call it right-handed cutting, borrowing from end mill terminology). Obviously, that's the reverse of ID Boring, where you typically use the M3 command. B) Boring heads, by their nature, have significant imbalance. That's why you'll get much better results with slower spindle speeds. OD boring is one case where you'll probably want to swap to the low belt position on your PCNC, as Mike does in the video here. C) In this video, Mike is just slowly feeding the boring head in Z with the control on the jog wheel. In a program, however, you'd probably use the G85 Cycle: G85 works a lot like a G81 (simple drill cycle), the only difference being that the retract of the tool is done at the programmed feed rate, and not the rapid rate. That's done because the cutting tool will typically remove a small amount of material during retraction due to a reduction in tool pressure. This results in a decrease in boring bar deflection, which causes the tip of the cutting tool to move slightly inward (in the case of OD boring) or outward (in the case of ID boring) As far as the actual sequence of the G85 command, let's look at a quick example: G85 X2 Y2 Z-1 R0.5 F5 will:
- 1) Rapid to position the the boring head above location X2Y2
- 2) Rapid to retract level R, (Z0.5, in this case)
- 3) Feed to position Z-1 at a feedrate of 5
- 4) Reverse feed to the R level (again, Z0.5) at a feedrate of 5
In addtion to G85, there are a number of other specialized boring cycles. Besides G85, you may consider G86 (Rough Hole Boring Cycle) or G89 (Boring with Bottom Dwell). You can learn more about these cycles on our G code reference page, and also in the excellent programming resource, CNC Programming Handbook, by Peter Smid. Missed Part one? You can find it here. Also, we had a few questions from readers about how to center a boring head over an existing hole - we will tackle that next week in another video, so stay tuned.


