
Swing Indicating may be "old hat" to more than a few readers of this blog, but we find in our CNC Fundamentals Workshops that many new and self-taught machinists have never used the technique before. Here's a brief Fab Lab tutorial on how to indicate the center of a hole.
The obvious reason for using this technique is that it allows you to use the center of a hole as a work offset location. One great example is using a thru-hole to reference the second side to the first side for two-sided machining. The video is worth a thousand words, but here goes anyways:
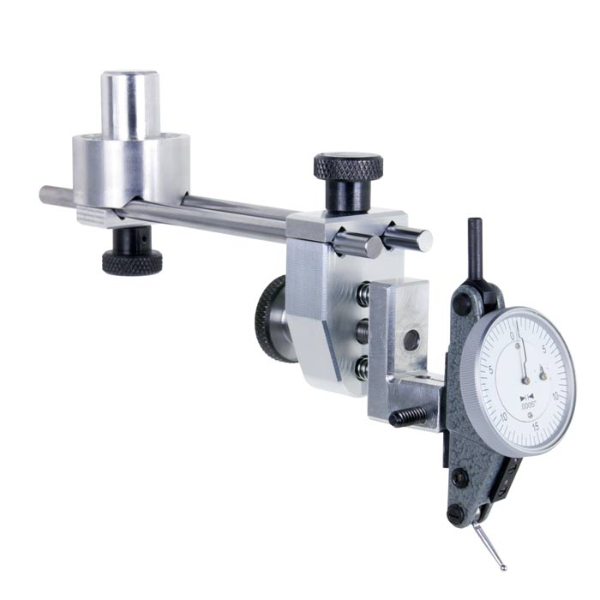
- Mount a dial test indicator in a tool holder and place it in the spindle.
- Roughly position the dial test indicator so that it is close to center. This takes a time or two to get the hang of—one technique is to adjust the tip position of the dial test indicator so that it roughly traces the circumference of the hole as you rotate the dial just above the top of the hole. Another technique is to position the tip of the dial so that it is at the center of rotation of the spindle (i.e., the tip doesn't move when the dial is rotated).
- Once the spindle is approximately centered, drop the tip into the hole and adjust the tip position so that it is preloaded against the inside of the hole. You can 'Zero' the dial if you would like.
- Make fine adjustments to the X and Y position of the mill until the deflection of the dial tip is the same all the way around the hole. Do this by first focusing on X (compare dial readings at 3 o'clock and 9 o'clock) and then Y (6 o'clock and 12 o'clock).
If you took care to get close during step 2, you won't have much adjustment to make here—maybe .005" to .010" either way. If you find that you are out by more than one rotation of the dial test indicator, it's often easier to go back to step 2 and try to get closer. In our next Fab Lab installment, "Swing Indicating, Part 2," we'll show you how to find the center of a rectangle with a dial test indicator.