
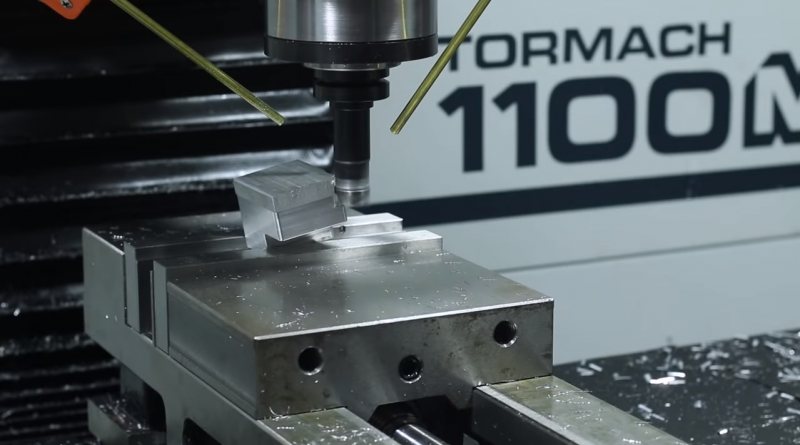
Measure Vise & Part Deflection
With the large forces applied by a vise, deflection can occur between the jaws of a vise. These jaws can deflect away from each other along their top surface, known as jaw lift (see below for more information), as well as from side to side.
Measuring any deflection is crucial to ensure your part will not be out of square within acceptable values. Use an indicator (we prefer a “tenths” dial test indicator) placed on either the jaw or the workpiece and observe movement and deflection as the vise is tightened.
Free of Oil
Vises in storage should be cleaned and oiled, but what about when in use? Before each use, be sure to wipe off any coolant or oil from the jaws contacting your part. Oil and coolant will reduce holding forces on your part and potentially result in thrown, shifted, or tilted parts mid-operation.
For parts where surface finish is critical, we often use a high-temp powder coat tape (McMaster-Carr P/N 7630A26) to keep any minor imperfection in vise jaws from marring the part – but keep in mind, the slippery nature of this tape reduces the vice holding power.
Use Torque Wrenches
Using a traditional vise handle makes it easy to tighten a vise but fails to address to key practices:
1) Tightening with the correct amount of torque
2) tightening with a consistent amount of torque.
Luckily, torque wrenches make quick work of solving both of these problems. Applying the same amount of torque each time allows for dialing in of variables and factors such as law lift and deflection. Pro tip: only use your torque wrench to tighten the vise. Use a ratchet wrench modified to only loosen to open the vise.

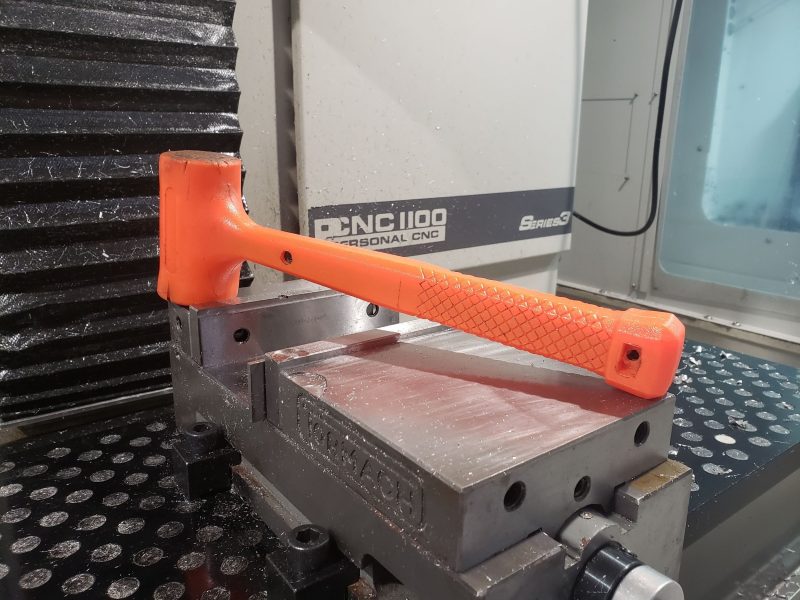
Hammer (Most of the Time)
One of the most important factors to consider when machining is rigidity. Rigidity of your machine, tooling, and workholding are all factors to consider. Vises are great at holding your parts, but don’t offer an accurate, repeatable means to locate your part, particularly in height and parallelism to the table.
Parallels allow for the part to sit coplanar with the table of the machine. But be aware, just because the part is flat on your parallels before tightening the vise does not mean the part did not lift after tightening. A solid hit from a dead-blow hammer will ensure the part is flush on the parallels and minimize any small jaw lift (see below).
A quick way to check if your part is seated is to try to slide the parallels sideways under the part. If the part is seated, the parallels should not slide easily. DON’T use a hammer when fixturing with tools such as Mitee-Bites TalonGrips or Pitbull-style clamps. These are designed to bite into the edge of the part and even add clamping forces in the Z direction in the case of the Pitbulls. A hammer blow after clamping can actually loosen the bite into the part instead of making the part flush.
Jaw Lift
Vises aren’t perfect - jaws do not always remain perfectly square when clamped down on a part. Vise jaw lift occurs when one or both jaws of the vise are pushed outward by the clamping forces on the part. Instead of the vise jaws being parallel with the clamped surfaces of the part, the jaws are angled outward and the part will no longer be coplanar with the machine table and cutting plane of the tool.
A solid hammer blow can correct small amounts of jaw lift, however most vises have an adjustment screw to dial in any larger amounts of jaw lift.
