When you first started learning CNC - after realising the Tormach 1100M was the best fit for all your hobbyist and light industrial maker needs - you needed to know the basics before you could start making chips.
That meant knowing your x from your y axis, the variation of feed rates, how G-code works, and what to do when you crash your mill (which is a painful but important right of passage for any upcoming CNC machinist).
But now you know your Tormach better, now you have the basics under your belt, you’re probably looking to step up your CNC education. You want to join the major leagues and start making parts faster with less fuss - either because you want to boost your stock output or you want to spend more time with either your family or with fellow makers.
Whatever the reason, this handy workholding hack will help you get the most from your Tormach 1100M.
But this handy hack isn’t just about reducing your production time. It will also get you thinking like a machinist. Being a great CNC maker is about more than knowing what your machine can do. It’s about also understanding how to make the machine work for you. Just like when Eric Clapton said of the blues ‘sometimes it’s about the notes you don’t play’, being a good CNC machinist is sometimes about ‘the cuts you don’t make’.
This hack will show you how to save time by working through multiple CNC mill operations using a single work offset.
The single work offset CNC mill hack
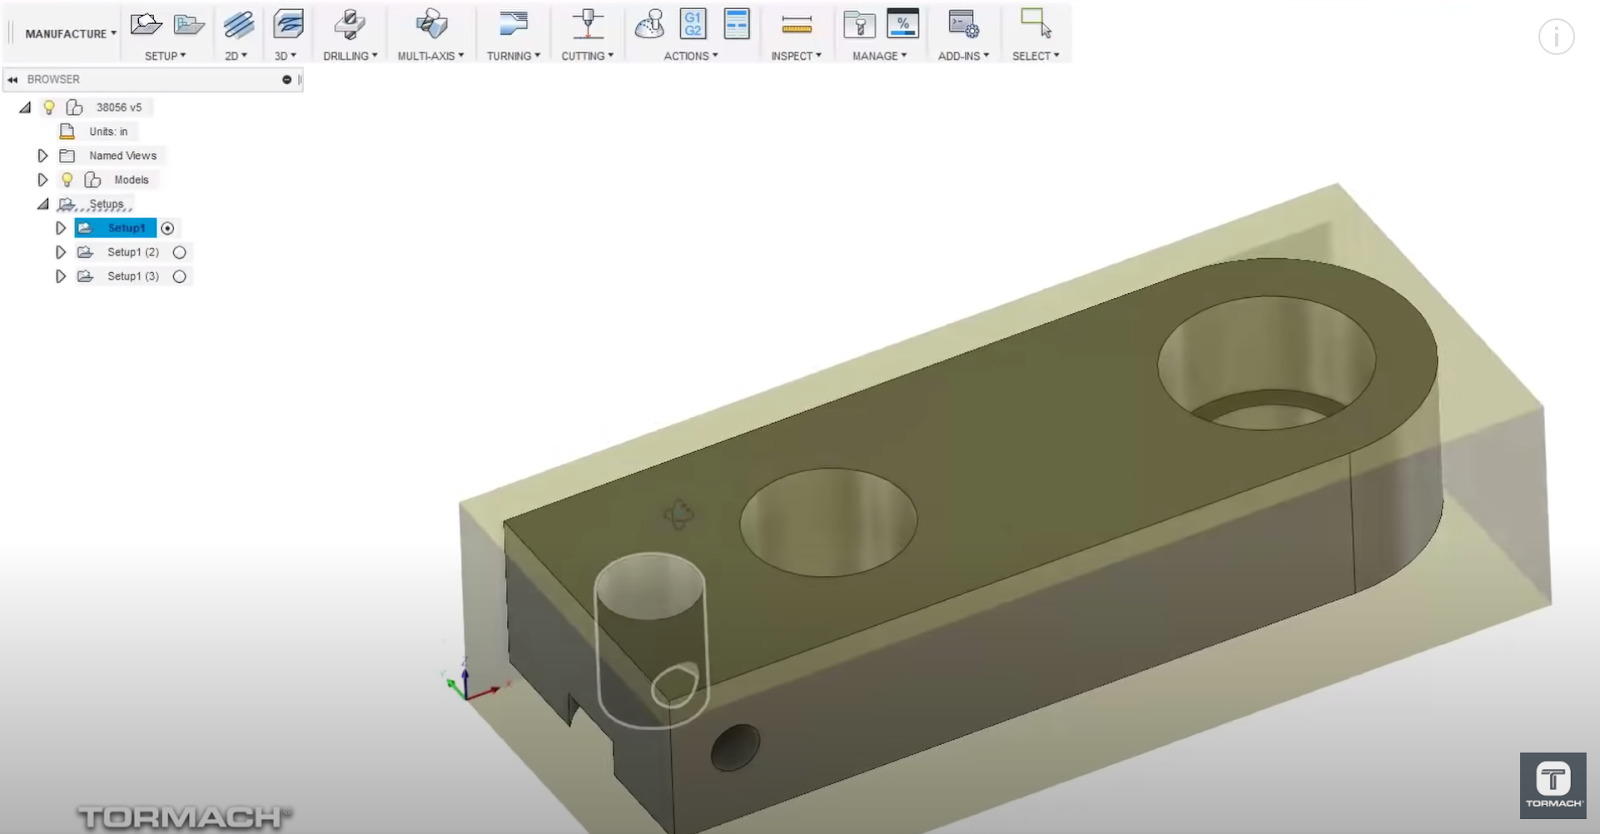
Imagine you’re looking to make a machine part ( like this):
|
|
|


Nothing fancy. But something useful that isn’t a simple ‘one-operation’ cut.
Typically, somewhere in the eighth-inch to quarter-inch range is a normal first stop whenever machining a part on your Tormach 1100M. And a lot of machinists will traditionally run their Z-position off the top of the part - which is a great way to do it if you’re playing safe, but it’s not the only way.
For example, have you tried running your Z position at the bottom instead? A small but simple rick that saves a lot of time on subsequent operations.
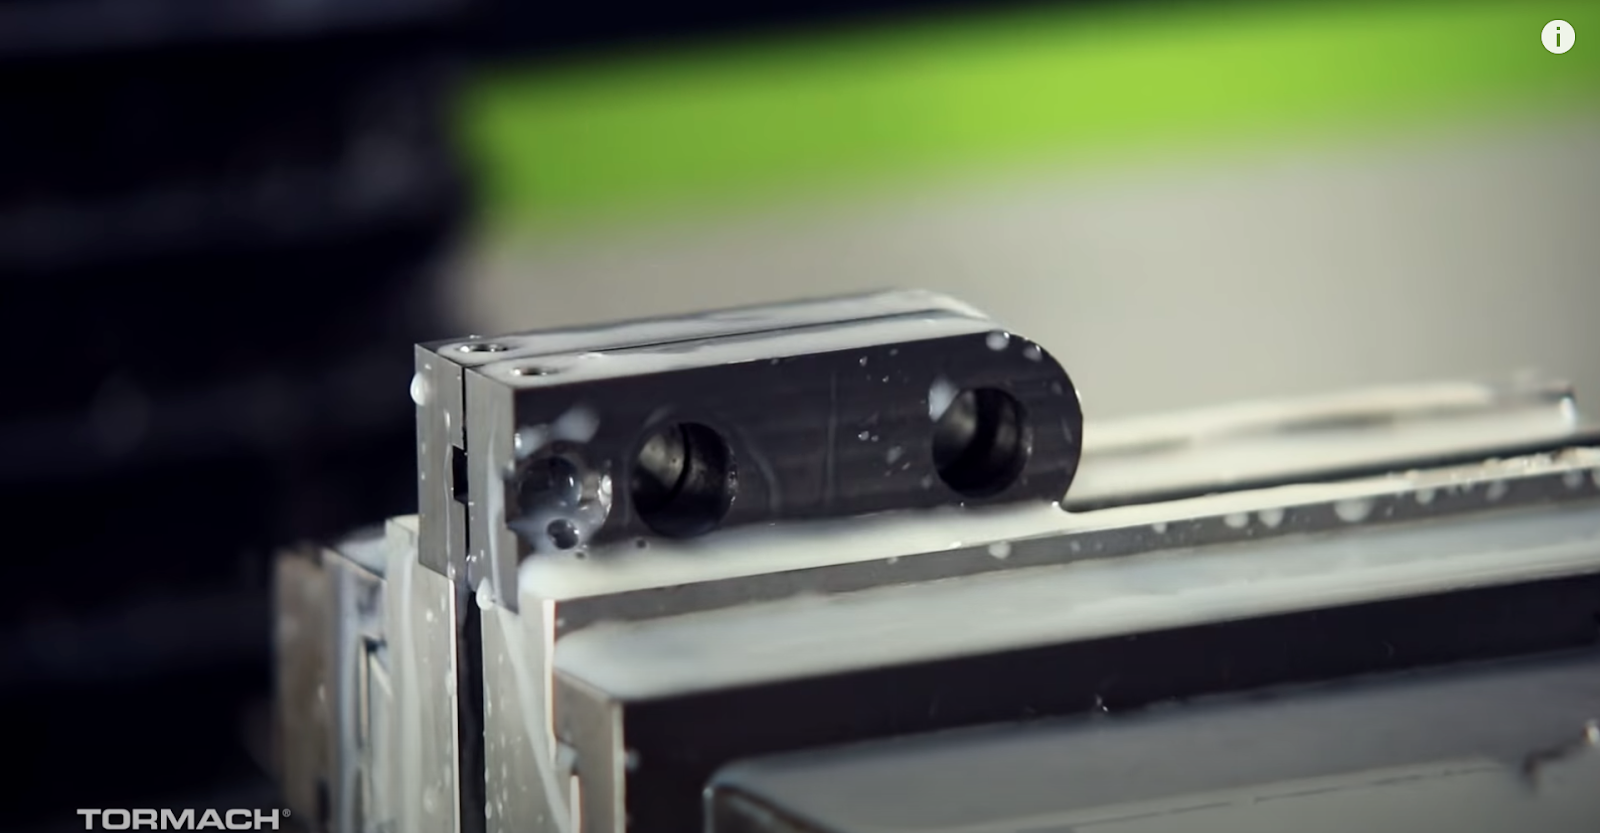
A good habit to get into is to set the back bottom left as zero and put the part into the vise (usually using a bump stop of some sort or just by cutting a dog bone right into the vise jaw and using an internal stop).
This gives you a consistent reference point across multiple operations. So far so good.
With your part in place, then set the work offset for the first operation on the edge of the stock. As you can see here in the model, this one is set in the back bottom corner so when you position this piece into the vise, you’re able to run through the first milling operation and do all the milling and drilling you need to do in a single run.
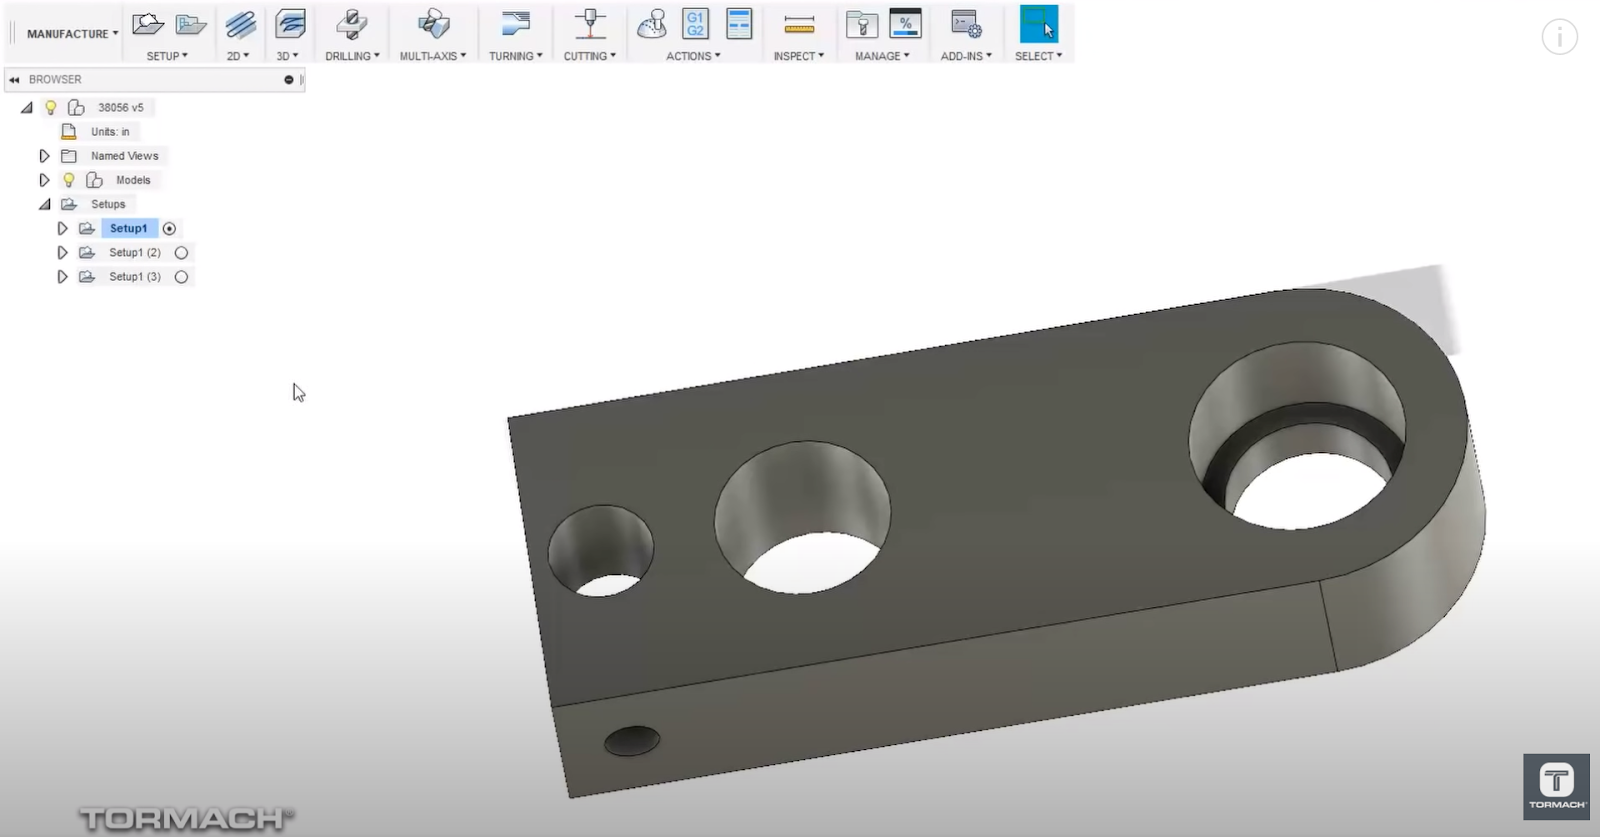
But now, when you switch to your second operation, because your part is rectangular you’re then able to use that same referencing position without setting an additional zero.
As you can see below, because the new work offset is relevant to the finished surfaces you’ve just machined, you can now flip between operations quickly without having to plan multiple setups. It cuts out the need for setting up ‘Operation 2’ from scratch. Not only that, but the same shortcut is also useful for Operation 3, 4, or 5 (depending on your cutting needs).
You should now have a better understanding of how you can work through multiple operations using a single work offset. It’s a handy insider tip that will help you save both time and money by reducing cutting time meaning you can either produce more parts in less time or get in and out of the workshop faster.