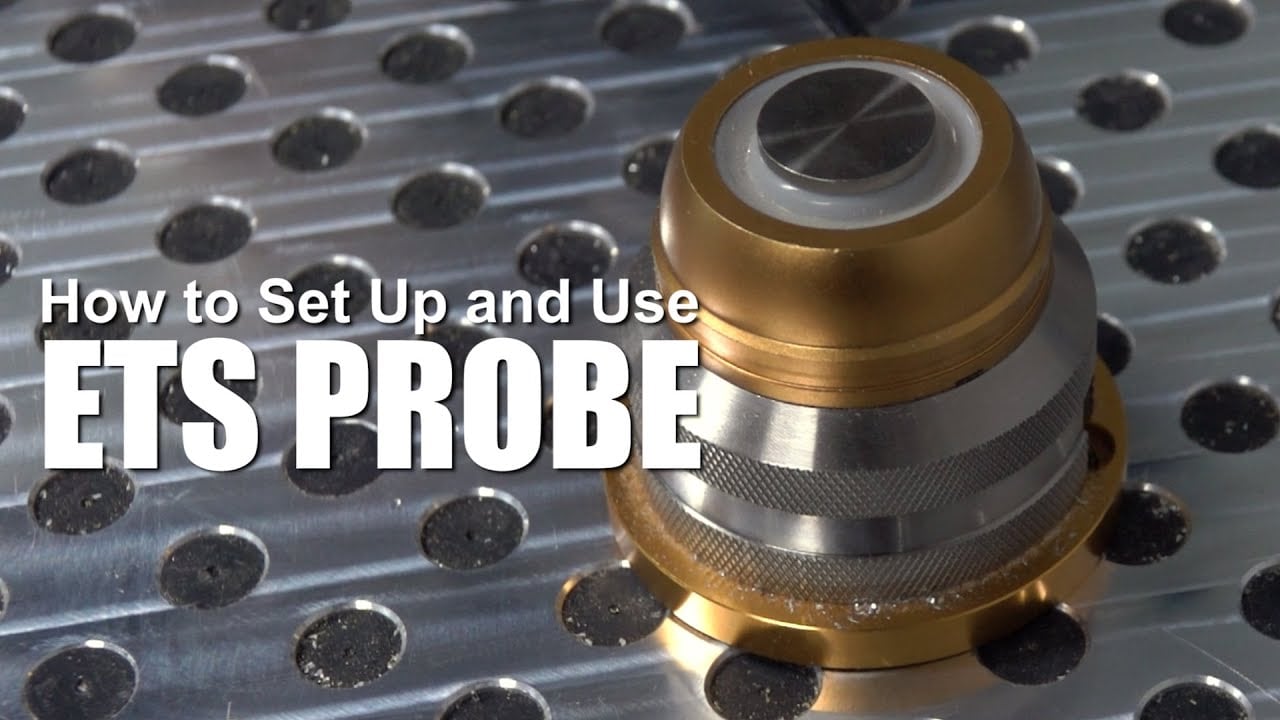
For those of you looking to step up the efficiency and ease-of-use of your Tormach mill or router, adding an ETS is a worthy upgrade to consider. An Electronic Tool Setter (ETS) is a device that sits on your machine table and acts as a ‘switch’, telling the PathPilot control when a tool touches the top of the ETS at which point the control records the Z position of the machine.
This allows for effortless recording of tool height offsets and is especially helpful for machines like the 24R, xsTECH, and mills with the Spindle Speeder or Kress High Speed Spindle Kit installed where tools cannot be repeatably placed in the spindle but instead must be measured each time.
It is also a great addition for the -MX line, where while the tools can be repeatably placed in the spindle, the tool height must still be measured using the machine. Setup requires some digging in the manual, so let’s take a quick crash-course on ETS setup in PathPilot.
Setting ETS Height
First, you’ll need to tell PathPilot how tall the probe is. This is a quick process and shouldn’t need to be done more than once for a particular ETS.
- Plug in the ETS and press on it with your finger to verify the accessory input turns on.
- Remove the ER20 nut and any collet from the spindle. The bare spindle nose provides a much more repeatable surface than the ER20 nut and is used as a reference for multiple steps.
- Make sure that T0 is the current tool in PathPilot.
- Using a reference surface (we recommend a 1-2-3 block, as the spindle does not reach the table). Move the spindle until it’s touching the surface and press ‘Z Zero’ in the control. Alternatively, touch off on that surface with a piece of paper or shim stock and enter the thickness of the material instead of zero. The goal here is to tell the control how far above the reference surface the spindle nose is.
- Move the spindle back up and place the ETS on the reference surface underneath the spindle.
- Press ‘Move & Set ETS Height’ under the Probe/ETS tab in PathPilot. You should see the box update with the height of the ETS when this is complete.
Reference Spindle Nose
Next up you will need to reference the spindle nose. This is the reference surface that tools will be measured against, so it is important to do this step each time the Z-axis is re-referenced as there will be some variation with the homing switches.
- Place the ETS on the machine table in the location it will sit when in use.
- Move the spindle over the ETS. Ensure that when it moves down the spindle nose will hit the center of the ETS.
- In the Probe/ETS tab in PathPilot, press ‘ETS Spindle Ref’. The button should light up green when complete and will be grayed-out when the spindle needs re-referenced (e.g. after an E-stop).
Set ETS Location
The final step is to tell PathPilot where the ETS will live on your table. This is the point the machine will always return to when probing a tool, so pick a spot that’s out of the way but still within your machine travel.
- Center the spindle directly over the probe. Unlike the last step, it’s important that the spindle centerline and the ETS centerline are as close as possible.
- Press ‘Set G37 Position’ button on the Probe/ETS tab in PathPilot. You have now told the control the location of the ETS probe.
Set Tool Offsets
Now for the most important part – touching off a tool! With a tool in the spindle, ensure that that tool is selected in PathPilot and the diameter is set on the Offsets tab. Press ‘Move & Set Tool Length’ (also in the Offsets tab) and the machine will move over the ETS, touching the tool off automatically! You can also type G37 into the MDI line, which is the G-code command to do the same thing (note: G37.1 can be helpful as well, this moves over the probe but does not initiate the probing routine).
For a more hands-free approach that won’t interrupt your program, adding the G37 command after tool changes in your G-code will initiate the probing routine each time a new tool is put in the spindle without stopping your program. For an in-depth video tutorial on ETS setup, as well as a post processor download with the G37 command already added, you can check out our NYC CNC page here.
This post was guest-written by John Saunders of NYC CNC and Saunders Machine Works.


