
There is a lot of calculation that goes into buying your first mill. It’s a big decision, but when you pull the trigger, it’s important to keep yourself prepared and organized.
Once you’ve put in the order for a machine, the anticipation can be painful, but there are a number of things you can dig into before your machine ever arrives.
Here’s a list of things to consider when you’re expecting your Tormach mill.
Your Shop/Garage/Basement/Shed
Over the years, we’ve seen Tormach users fit their machines into all kinds of interesting spaces. That’s one of the perks of our machines… they can fit just about anywhere.
For the sake of argument, we’ll call the space you’re using for your machine the shop. First and foremost, you need to think about placement.
Placement
While the LEGO Master Builder in all of us wants to tuck the machine into a nook so it aligns with the wall or matches up perfectly with the I-beams, it’s best to be practical with placement. While you don’t always need to access the back of your machine, it can be extremely helpful to have enough space to stand behind your machine - the electrical cabinet door on the 770M/MX and 1100M/MX are 17" and 20", respectively. This allows access to the controller, so if there is ever an issue or you decide to add accessories, you can do so with ease. Also, having access to the back of the machine allows for easy occasional inspection, which can help catch issues before they become bigger problems.
Water
Your shop should also have access to water. Whether it’s a spigot or a sink, you should have a way to get water to your machine.
First and foremost, if you’re using coolant (mist or flood), getting a hose to your machine is much easier than hauling containers full of water. Coolant is sold as a concentrate, meaning you’ll have to dilute it down to a specific concentration. Over time, the water mixed in your coolant will evaporate, so topping things off to keep the correct concentration is important.
Having water in your shop also makes cleaning (parts, tools, benches, etc.) much simpler. While you could schlep in a bucket full of water to clean things up, it’s much easier (and more likely to happen) if you have easy access to water.
Air Compressor
Having an air compressor in your shop is basically a must. While you might be able to get away with not having one, if you’re running a bare-bones setup, we still wouldn’t recommend it. Air allows you to do everything from operate an automatic tool changer (ATC) to clearing chips to keeping your bench clean.
While you can manually change tools on a Tormach mill, a power drawbar has often been called one of the accessories that users can’t live without. And a power drawbar requires air.
There are a number of different air compressors out there. How and how much you’re going to use your mill will determine what kind of compressor you’ll need. If you’re looking for a quality compressor for standard use, we sell a California Air Tools unit that can get the job done.
Power
All Tormach machines operate on standard single-phase power. Depending on which mill you choose will determine whether you need to use 230-250VAC or 115VAC. The PCNC 440, 770M and 770MX all run on 115VAC, which looks like a standard outlet, although we recommend using a 15A breaker. The 1100M and 1100MX use a NEMA L6-20 and run on 230-250VAC. They use an outlet that looks the same as a 220V window AC unit.
Access to power is definitely something to consider when you’re placing your machine, as well. Extension cords aren’t ideal, especially when you’re dealing with higher voltages like 230-250VAC.
Things to Get You Started
While buying a machine is a major step towards making chips, you’ll need some other things before you can start cutting.
Workholding
Workholding is one of the deepest rabbit holes you can go down when it comes to machining. And rightfully so. Every part is different, and when you’re looking for ways to be efficient and productive, there’s always a different way to hold your part.
We highly recommend trying a variety of different workholding technologies, but it is highly dependent on what you’re cutting. A couple of catch-alls that will cover most of your needs include a standard 4-inch or 5-inch vise (depending on your machine) and a SMW Tooling plate. These two workholding technologies allow you to hold a variety of shapes and use an array of cutting techniques. You may still have to buy more workholding accessories to keep your parts secure, but these will get you started.
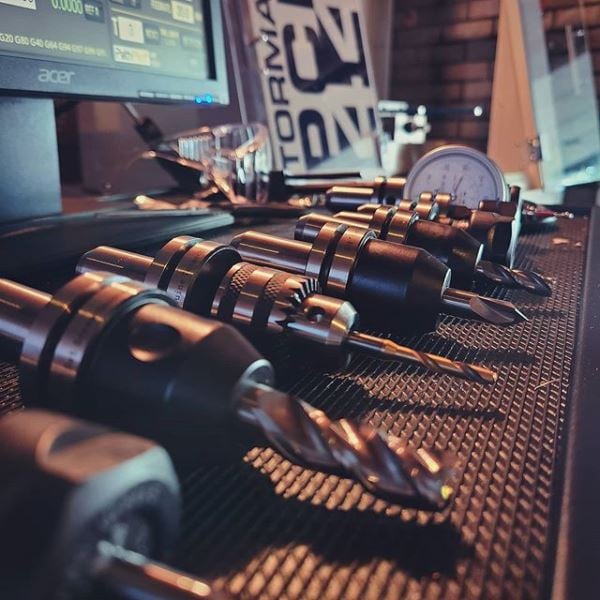
Tooling
Another endless endeavor is choosing what types of cutting tools you need or want. The variety of materials, coatings, flute geometries, etc. can be overwhelming, but like so many things in machining, it’s about picking the right tools for the job.
If you need something basic to be a steadfast set of tooling, we’d recommend starting with this end mill kit for aluminum and this end mill kit for steel.
Depending on what kind of parts you’ll be cutting, you can start to delve into everything that tooling can (and can’t) do, but these kits can get you started making chips.
Measurement
CNC is known for precision. We use CNC because using a manual mill just won’t cut it, but that also means making sure everything is in spec. Having access to a variety of measurement tools is essential for any shop, big or small.
The digital height gauge allows you to accurately measure your tools in their holder, which is vital when cutting. This measurement helps your machine know where the end of the tool is, and prevents cutting air as well as crashes. The height gauge is especially useful when you use this granite block to hold your TTS tooling or a benchtop tool presetter from Santa Cruz Electronics if you're using BT30 tooling.
Every shop also needs a good set of calipers. These are accurate and fast, while allowing you to measure from multiple angles and even the ID of round parts. If you're looking to measure OD accurately, we recommend picking up a digital micrometer.
The Haimer 3D Sensor will make every list that we put together because it is just that good. While this measurement tool is a little more pricey, every Tormach owner that has used one knows that you can’t live without it. It’s used to help find your part on the machine - allowing you to zero things off quickly and easily. You can also use the Haimer to sweep in a vice jaw and check for surface flatness, so it's a really versatile tool.
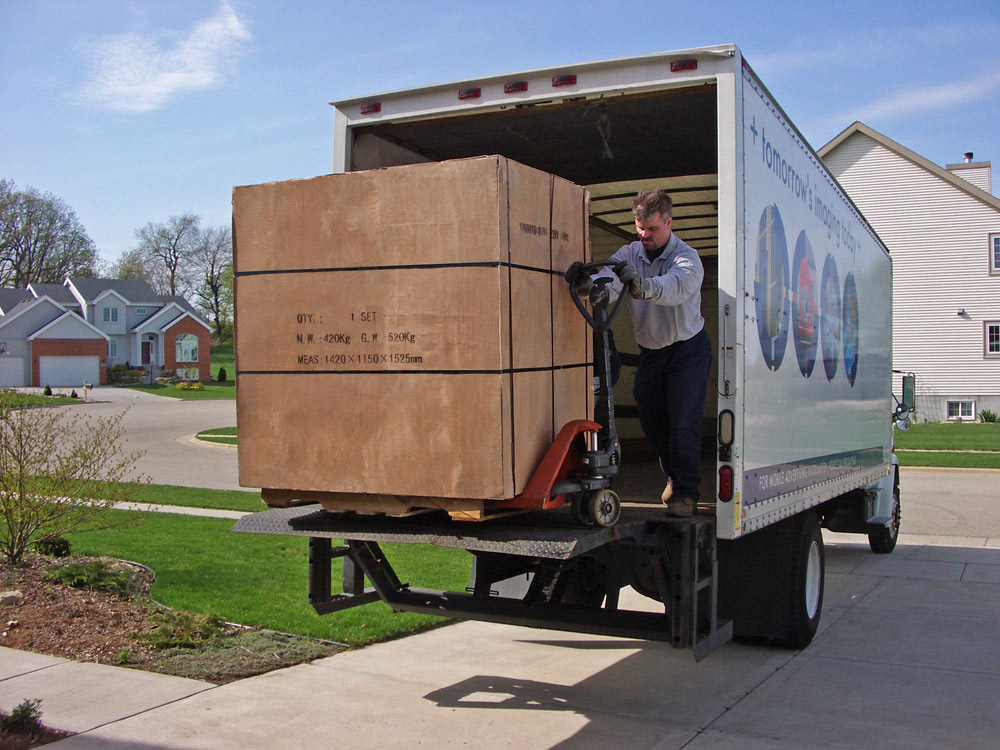
Delivery of a Tormach Mill
Tormach machines can be delivered to both business and residential addresses. In fact, we’ve designed the machines to fit on a liftgate truck for just that reason. Because they can be delivered on such a truck, there is some assembly required to get your machine up and running.
Tormach mills typically arrive in at least three pallets - one for the machine, one for the stand, and one with accessories and other components. This will vary based on your order, but it’s a solid baseline.
Delivery is only to the curbside, so if your shop is at the end of a long driveway or in a shed in your backyard, you may have to make additional arrangements with Tormach for a $200 fee to get the machine to its final destination. These arrangements need to be made at the time of your order (or prior to, if working with Orders/Pre-Sales). For more information on shipping, read our shipping overview.
There is an assembly process that you and one other person can do yourselves. While the process isn’t quite like changing the oil on your car, most mechanically inclined individuals find the process fairly simple. We also provide detailed information on assembly in the operator’s manual and a step-by-step video for the process.
For an extra fee, we also provide assembly services. With machine assembly, a Tormach professional installs, aligns, and tests major components to the machine, allowing you to commission the machine quickly at your shop once it arrives. Visit our assembly services page to learn more.
There’s a lot to consider when you’re getting ready for your new CNC mill, but with these extra steps, you should be off and making chips in no time.